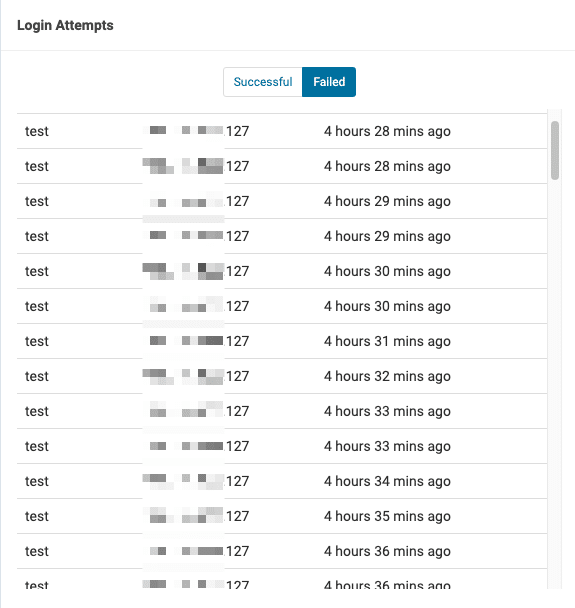
This has become quite the issue lately. The majority of the cases that I’ve come across involve the case where Wordfence considers the server/hosting IP to be a user’s/ hacker’s IP address when they are running a brute-force attack. The frustrating part about this is that the Wordfence firewall will lock you out of the website on failed login attempts because it’s detecting the attack and your login attempt coming from the same IP address.
Here’s an image of what the login log looks like under the Firewall section. The IP address that you see in the log below is the server IP address.

The reason why Wordfence could not get the correct IP address with their recommended method active is that Bitninja was active at the server level. “How Wordfence get IPs?” is misconfigured in a lot of cases. If you’re facing a similar issue then the steps below should help:
- Login to the WordPress admin panel. Click on Wordfence > Tools from the left sidebar.
- Navigate to the Diagnostics tab and click on the IP detection section.
- You’ll see 4 different methods under IPs and different IP addresses under the Value column.

- Click here to check your IP address. Now cross check which method shows the exact same IP in the IP detection section.
- If you are using Bitninja or QUIC.cloud then the correct IP address will show under “X-Real-IP” or “X-Forwarded-For”.
- In order to change the method, click on Wordfence > All Options. Then click on “General Wordfence Options”.
- Select the correct method under How does Wordfence get IPs?

Is Wordfence blocking your IP address?
If Wordfence has blocked your IP more than once than you should check if the Wordfence plugin is even detecting the correct IP. The easiest way to check that would be to navigate to Wordfence > Firewall and look at the login log. Check the IP in front of the username you used to login to the WordPress site.